Swap between multiple 360 spins
You can embed as many 360 spins throughout your page as you wish.
Demo
To save space and keep images neatly organized, you might like to embed multiple spins in the same area, like this:
There are a few different ways to configure the code to show multiple 360 spins on your page. The code will depend largely on which image slideshow you're using to contain the spins. The example above uses Magic Slideshow for the left/right sliding effect.
Instructions
These steps will replicate the example above, with left/right arrows show on hover and a sliding animation on switch.
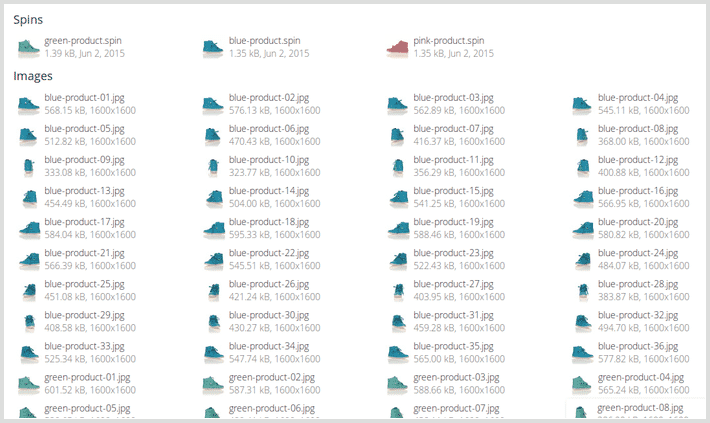
1. Upload your spins to your Sirv account. You can store them all in one folder or put each spin in its own folder:
2. Create a div for each small thumbnail image. Choose any of the images in your spin as the thumbnail. Specify the height of each image using the h (height) parameter. The code below sets a height of 50px:
<div data-thumb-image="https://sirv.sirv.com/website/demos/multicolor/blue-product-01.jpg?h=50"></div>
3. Inside that div, add another div with a link to the spin in your Sirv account:
<div data-thumb-image="https://sirv.sirv.com/website/demos/multicolor/blue-product-01.jpg?scale.height=50">
  <div class="Sirv" data-src="https://sirv.sirv.com/website/demos/multicolor/blue-product.spin"></div>
</div>
4. You can optionally add a loading image to show while the spin loads. We've done that with a CSS class named loading and referenced that after the spin div, like so:
<div data-thumb-image="https://sirv.sirv.com/website/demos/multicolor/blue-product-01.jpg?scale.height=50">
  <div class="Sirv" data-src="https://sirv.sirv.com/website/demos/multicolor/blue-product.spin"></div>
  <span class="loading"></span>
</div>
5. Copy that complete section of HTML code to create the same code for all the images in your multiple 360 spins. For example, if you had 3 spins, the code could look like this:
<div data-thumb-image="https://sirv.sirv.com/website/demos/multicolor/blue-product-01.jpg?scale.height=50">
  <div class="Sirv" data-src="https://sirv.sirv.com/website/demos/multicolor/blue-product.spin"></div>
  <span class="loading"></span>
</div>
<div data-thumb-image="https://sirv.sirv.com/website/demos/multicolor/green-product-01.jpg?scale.height=50">
  <div class="Sirv" data-src="https://sirv.sirv.com/website/demos/multicolor/green-product.spin"></div>
  <span class="loading"></span>
</div>
<div data-thumb-image="https://sirv.sirv.com/website/demos/multicolor/pink-product-01.jpg?scale.height=50">
  <div class="Sirv" data-src="https://sirv.sirv.com/website/demos/multicolor/pink-product.spin"></div>
  <span class="loading"></span>
</div>
6. Create a div that will contain all the divs you've created. This container div will specify the position of the additional images (selectors) which could be top/bottom/left/right; the style of the selectors (selectors-style) which could be text links or image thumbnails; the size of the square thumbnails (selectors-size); and any other settings such as autoplay and height:
<div class="MagicSlideshow multi-spins" data-options="selectors:bottom; selectors-size:50; selectors-style:thumbnails; autoplay:false; height:100%;"></div>
This is how the code looks altogether:
<div class="MagicSlideshow multi-spins" data-options="selectors:bottom; selectors-size:50; selectors-style:thumbnails; autoplay:false; height:100%;">
  <div data-thumb-image="https://sirv.sirv.com/website/demos/multicolor/blue-product-01.jpg?scale.height=50">
    <div class="Sirv" data-src="https://sirv.sirv.com/website/demos/multicolor/blue-product.spin"></div>
    <span class="loading"></span>
  </div>
  <div data-thumb-image="https://sirv.sirv.com/website/demos/multicolor/green-product-01.jpg?scale.height=50">
    <div class="Sirv" data-src="https://sirv.sirv.com/website/demos/multicolor/green-product.spin"></div>
    <span class="loading"></span>
  </div>
  <div data-thumb-image="https://sirv.sirv.com/website/demos/multicolor/pink-product-01.jpg?scale.height=50">
    <div class="Sirv" data-src="https://sirv.sirv.com/website/demos/multicolor/pink-product.spin"></div>
    <span class="loading"></span>
  </div>
</div>
7. In this demo, we changed the autostart setting to download the spins when the user clicks a thumbnail (instead of all at once on page load). This is the code we used:
<script>
  var SirvOptions = {
    autostart: false
  };
</script>
<script>
  MagicSlideshow.options['onready'] = function() {
    if (window.Sirv) {
      Sirv.start();
    } else {
      SirvOptions.autostart = true;
    }
  }
</script>
8. For the sliding effect, download Magic Slideshow, unzip it and upload the magicslideshow folder to your server.
9. Reference the magicslideshow.js and magicslideshow.css files with the following code. Paste it before the </head> tag:
<link rel="stylesheet" type="text/css" href="magicslideshow/magicslideshow.css"/>

<script src="magicslideshow/magicslideshow.js" type="text/javascript"></script>
10. Finally, reference the sirv.js script once in your page by pasting in the code for embedding 360 spins and image zooms using Sirv. Paste it before your </head> tag if possible, otherwise somewhere in the body of your page:
<script src="https://scripts.sirv.com/sirv.js"></script>
Expert help
If you need help embedding multiple 360 spins in your page, please send a message to the Sirv support team via the support form in your account.
Create an account
If you don't already have a Sirv account, get started now. Sirv